


Listing for TWO launches this week:
First, for theJills Farmer's Market launch, I put these up: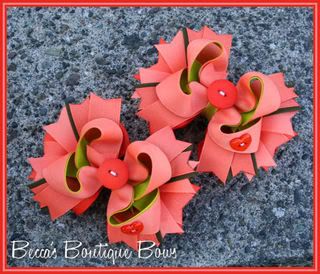
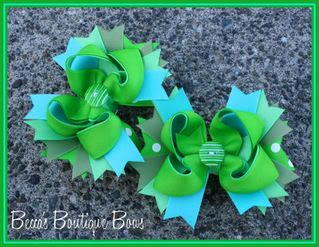
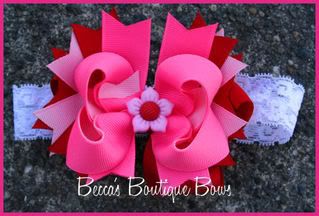
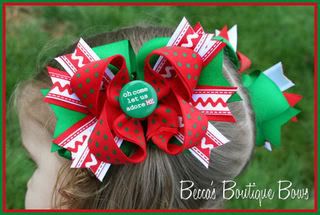
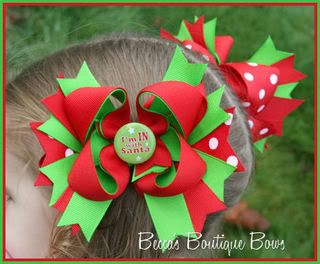
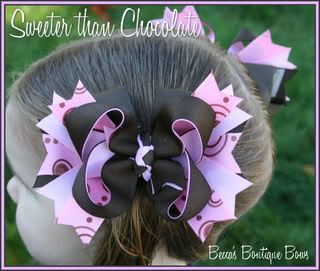
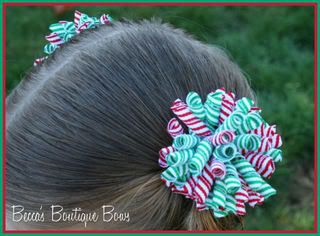
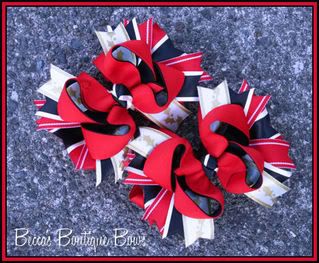
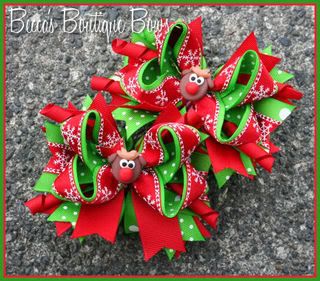
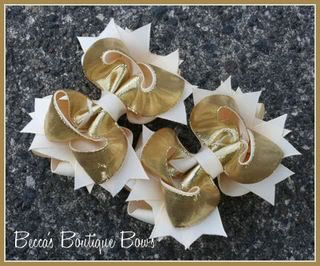
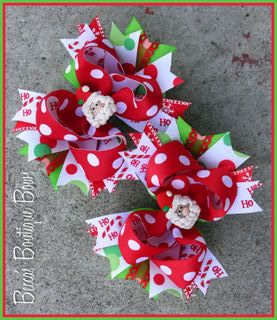
And for The BowFairies Christmas launch, I just listed these sets: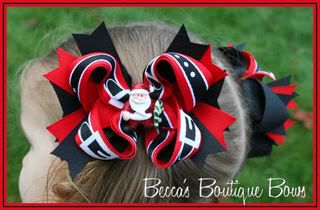
Thanks for looking!!
Tuesday, October 28, 2008
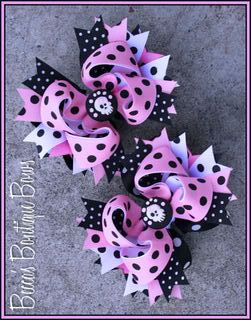
Big launch week
Wednesday, October 22, 2008
Some new M2MG :)
More listings on ebay for me today, two new M2MG and a fun Christmas korker set. Thanks for peeking!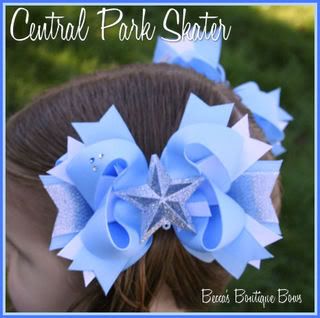
I'll also be getting the new M2MG boutique stuff up later tonight on my website and on etsy.com.
Thursday, October 9, 2008
How to make iron-on labels
Want a quick tutorial on how to make those labels to put on your bows? Or on your clothing designs? Really they'd work on anything you need to label that is made of fabrics. Like the jackets your kids wear to school and forget to bring home :)
Anyways, here goes!
You'll need :
a graphics design program
printer
printable fabric
heat-n-bond lite
iron
First you need to use your graphics program to create the image you'd like on your label. Anything you'd like! Here's mine:

Save this as it's own image.
Now open another image roughly 8"x10.5", just smaller than a standard sheet of paper. Cut and past as many of your small label onto that page, arranging into rows.
Once you have that finished, save it as it's own image as well.
Load up your printer with your printable fabric. Here's where I get mine:
I find their prices are the best, and I really like their fabric. It feeds very nicely through my printer. Print the page with the rows of labels onto your printable fabric.
Let the ink dry completely, then pull the paper backing off your fabric.
Here's what it should look like:

Now get out your heat-n-bond and iron. Here's what it looks like, its an iron on adhesive with a paper backing.
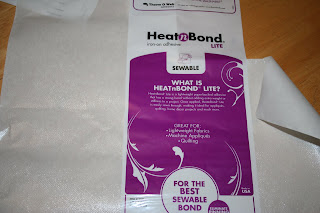
Lay your fabric (face side up) on the heat-n-bond's adhesive side (not the smooth paper side). Iron on, following the instructions. This will also heat set the ink, so that it doesn't run or bleed. Then cut the page out.

Lay your fabric (face side up) on the heat-n-bond's adhesive side (not the smooth paper side). Iron on, following the instructions. This will also heat set the ink, so that it doesn't run or bleed. Then cut the page out.

Let this cool completely, then peel the paper backing off. Your labels need only to be cut out and ironed onto whatever surface you're wanting to label. They will iron on quite quickly, you only need about 2 seconds.
I hope this tutorial helps somebody!!
Tuesday, October 7, 2008
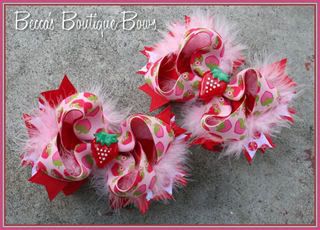
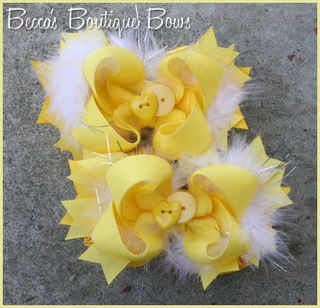
Who wants Pie?
I went on a bit of a listing frenzy today. Here are three offerings for the BowFairies Pie launch and a couple extra ones just for fun :) Thanks for peeking!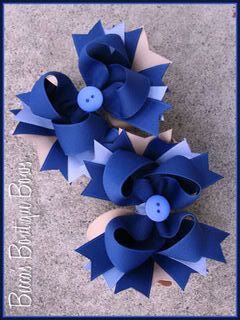
Subscribe to:
Posts (Atom)